Once again I have to apologise for not posting for a couple of weeks. This time it's hubby who has had the plague and I've been playing Florence Nightingale, although I must admit I'm probably a much less tolerant nurse than she was. I started this project last weekend and didn't have time to finish it, and then I didn't have time over the week so it had to wait until yesterday. It was good timing though as I went to the lovely Maria D'Silva's hafla in Leicester last night and sparkles are always good for a hafla.
I started with a beautiful kameez tunic that I found in a charity shop near where I work. I love teal so this colour was perfect for me.
 |
| SPARKLES! |
First step was to turn it inside out, put it on and pin it. This is harder than you might think, especially when you have to get it off again without the pins stabbing you. I should invest in a dress form really, but I have no free floor space in our tiny tiny house. One day...
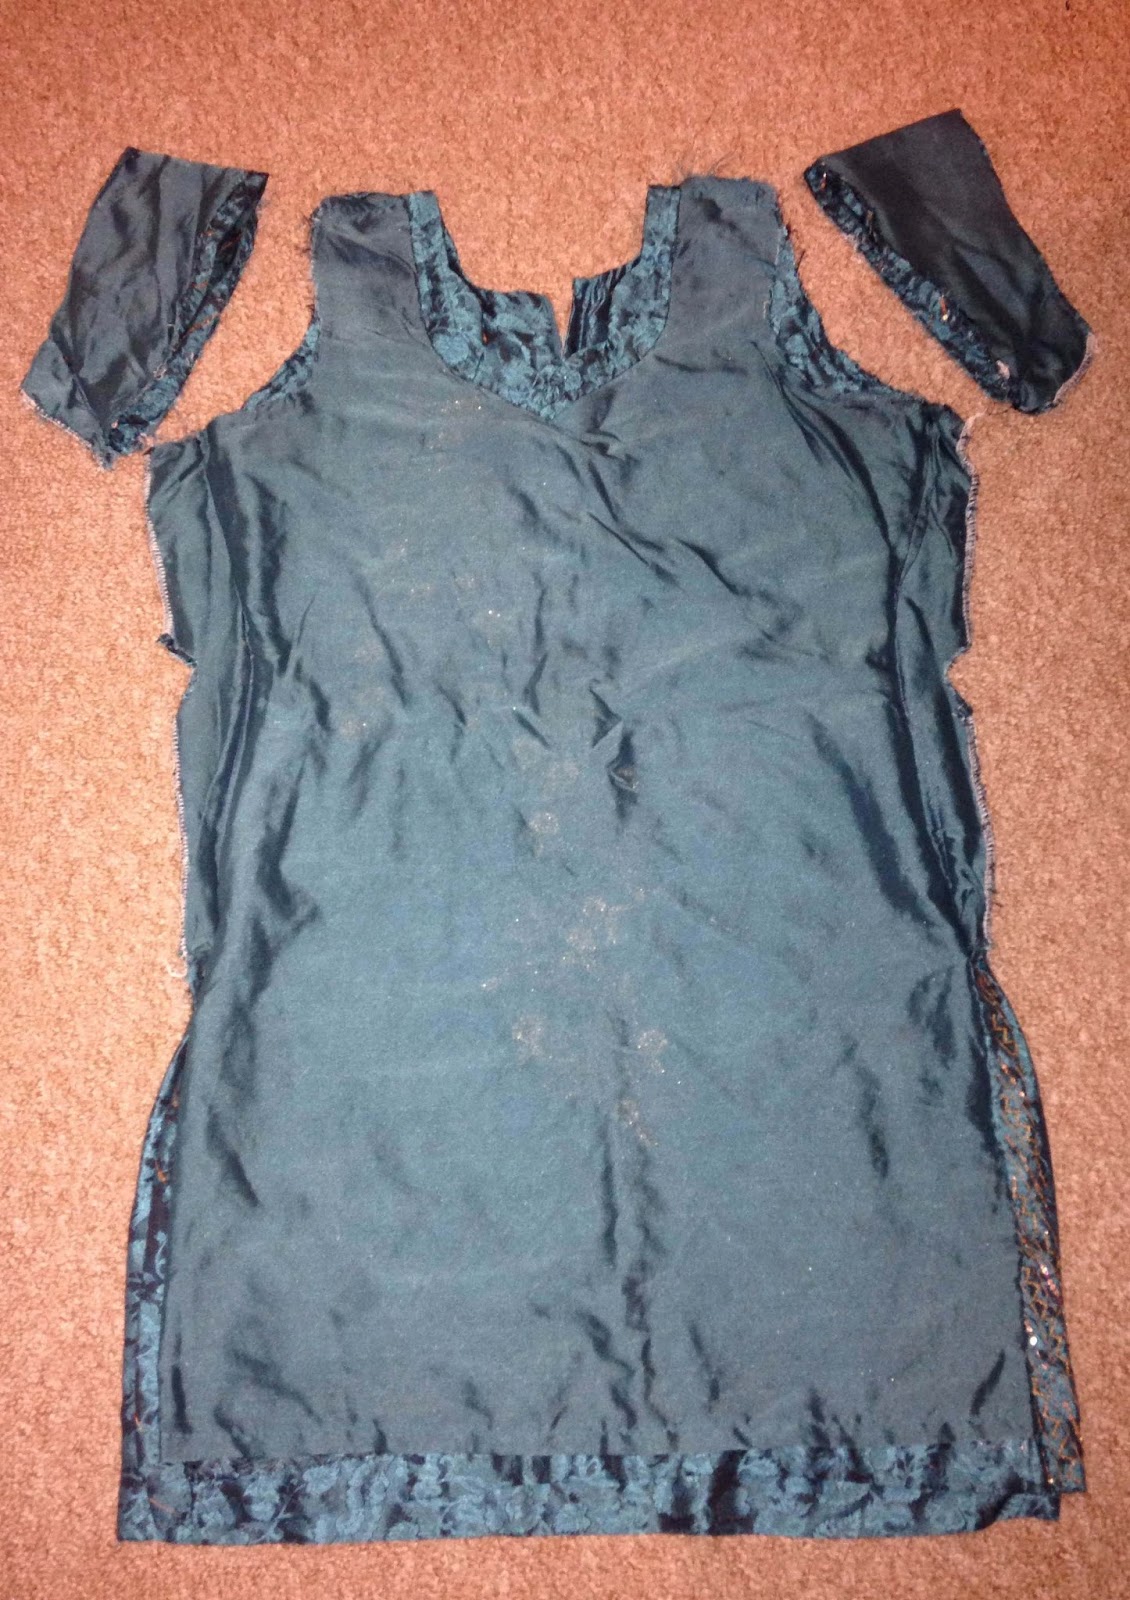
I ran a line of stitches plus a line of overlocking stitch down each side to prevent fraying, and took my stitch ripper to the sleeves. then I folded the raw edges of the sleeve holes and stitched them.
 |
| Off with your sleeves! |
Next I chopped off the excess fabric from the sides, although I had to stop at where the slit sides of the tunic started.
 |
| Looking good so far... |
Next I chopped a few inches off the bottom. I wanted this to be a long top rather than a tunic as such.
I then unpicked the side seams where the side slits were and took them in to line up with the new seam line. I hemmed the bottom raw seam at this point too.
 |
| Much neater. |
|
Next up was to sort the neckline. I have figured out from this project that I am no good at necklines. My skills are not up to scratch. I need practise. To be fair the heavy beading around the neckline did not help one bit, but I still need to practise. In the end, after a couple of tries, i managed a respectable scoop neck. There was a snag half way round but by this point I was so fed up I figured nobody would notice and I could fix it another time. Unfortunately my friend Colleen noticed it straight away. Sigh.
 |
| Sorry about the dog head, she refused to move. Apparently the floor is very comfortable. |
Finally (finally!) I took the strips I had cut from the bottom hem, unpicked the lining, cut each strip in half and stitched the ends together to make long strips. Then I stitched the long edges together inside out, turned them the right way and boom! Ties for the sides. I unpicked a small part of the hem on each side, inserted the ties and restitched the sides.
 |
| Boom I tell you! BOOM! |
And that was it! A pretty sparkly top with a slightly wonky neckline. I was concerned about refashioning a kameez top to start with due to cultural appropriation issues, but in the end I figured that it was an unwanted garment and I have used it for the fabric rather than to wear it as a kameez. Feel free to comment and let me know what you think about this.
 |
| Behold the spangles! Ignore the twisted strap! (Of course that's all my hair...I don't know what you mean!) |
I had a lovely night at the hafla and got a few compliments on my top, so I think it's a success. I'll just have to remember to keep Colleen away from me when I make tiny (almost invisible, honestly), mistakes in the future. She always spots it!


